Getting Started Guide#
Beagles are tiny computers ideal for learning and prototyping with electronics. Read the step-by-step getting started tutorial below to begin developing with your Beagle in minutes.
Update board with latest software#
This step may or may not be necessary, depending on how old a software image you already have, but executing this step, the longest step, will ensure the rest will go as smooth as possible.
Download the latest software image#
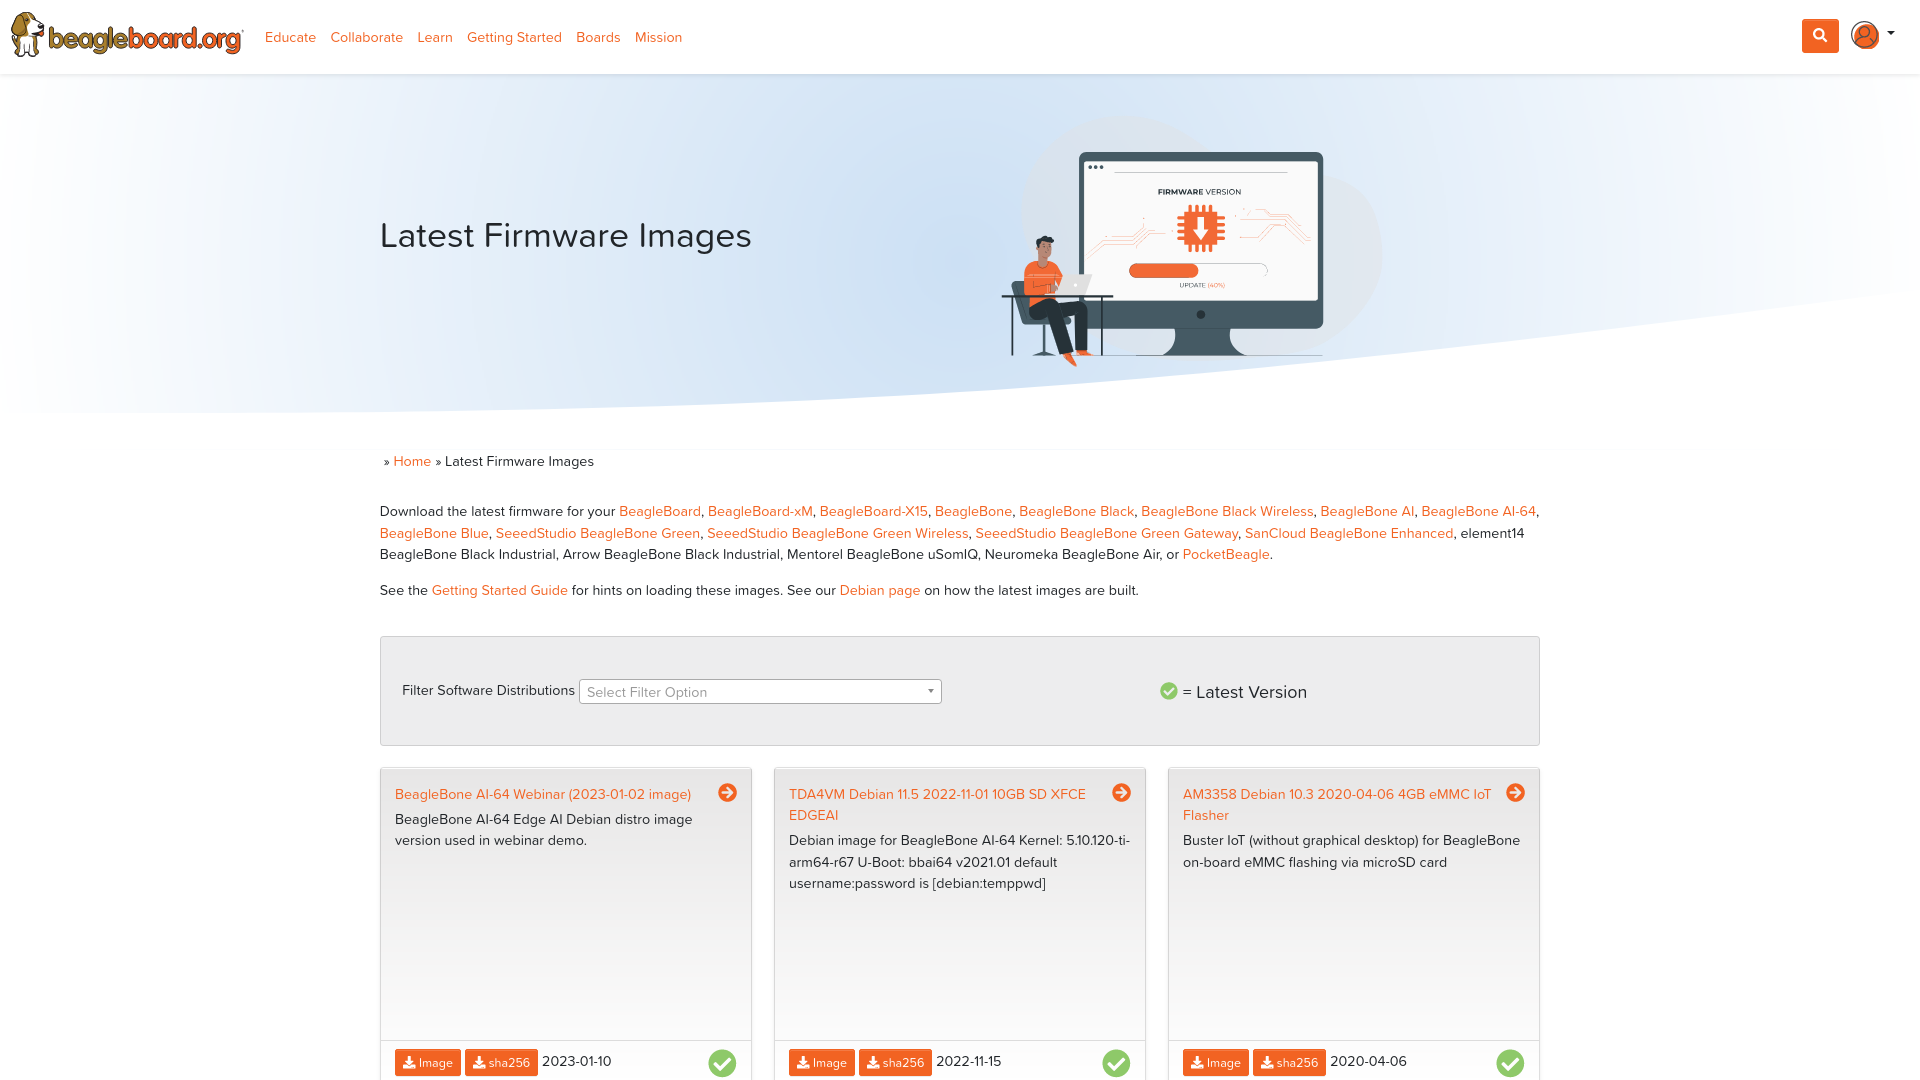
Download the latest software image from beagleboard.org distros page. The “IoT” images provide more free disk space if you don’t need to use a graphical user interface (GUI).
Note
Due to sizing necessities, this download may take 30 minutes or more.
AM57xx latest image (IoT) for BeagleBone AI and BeagleBone-X15
AM57xx latest image (Xfce) for BeagleBone AI and BeagleBone-X15
AM335x latest image for BeagleBone Black, PocketBeagle, BeagleBone Blue, etc.
AM335x latest image (Xfce) for BeagleBone Black, PocketBeagle, BeagleBone Blue, etc.
AM335x latest image (IoT) for BeagleBone Black, PocketBeagle, BeagleBone Blue, etc.
The Debian/Ubuntu distribution is provided for the boards. The file you download will have an .img.xz extension. This is a compressed sector-by-sector image of the SD card.
Install SD card programming utility#
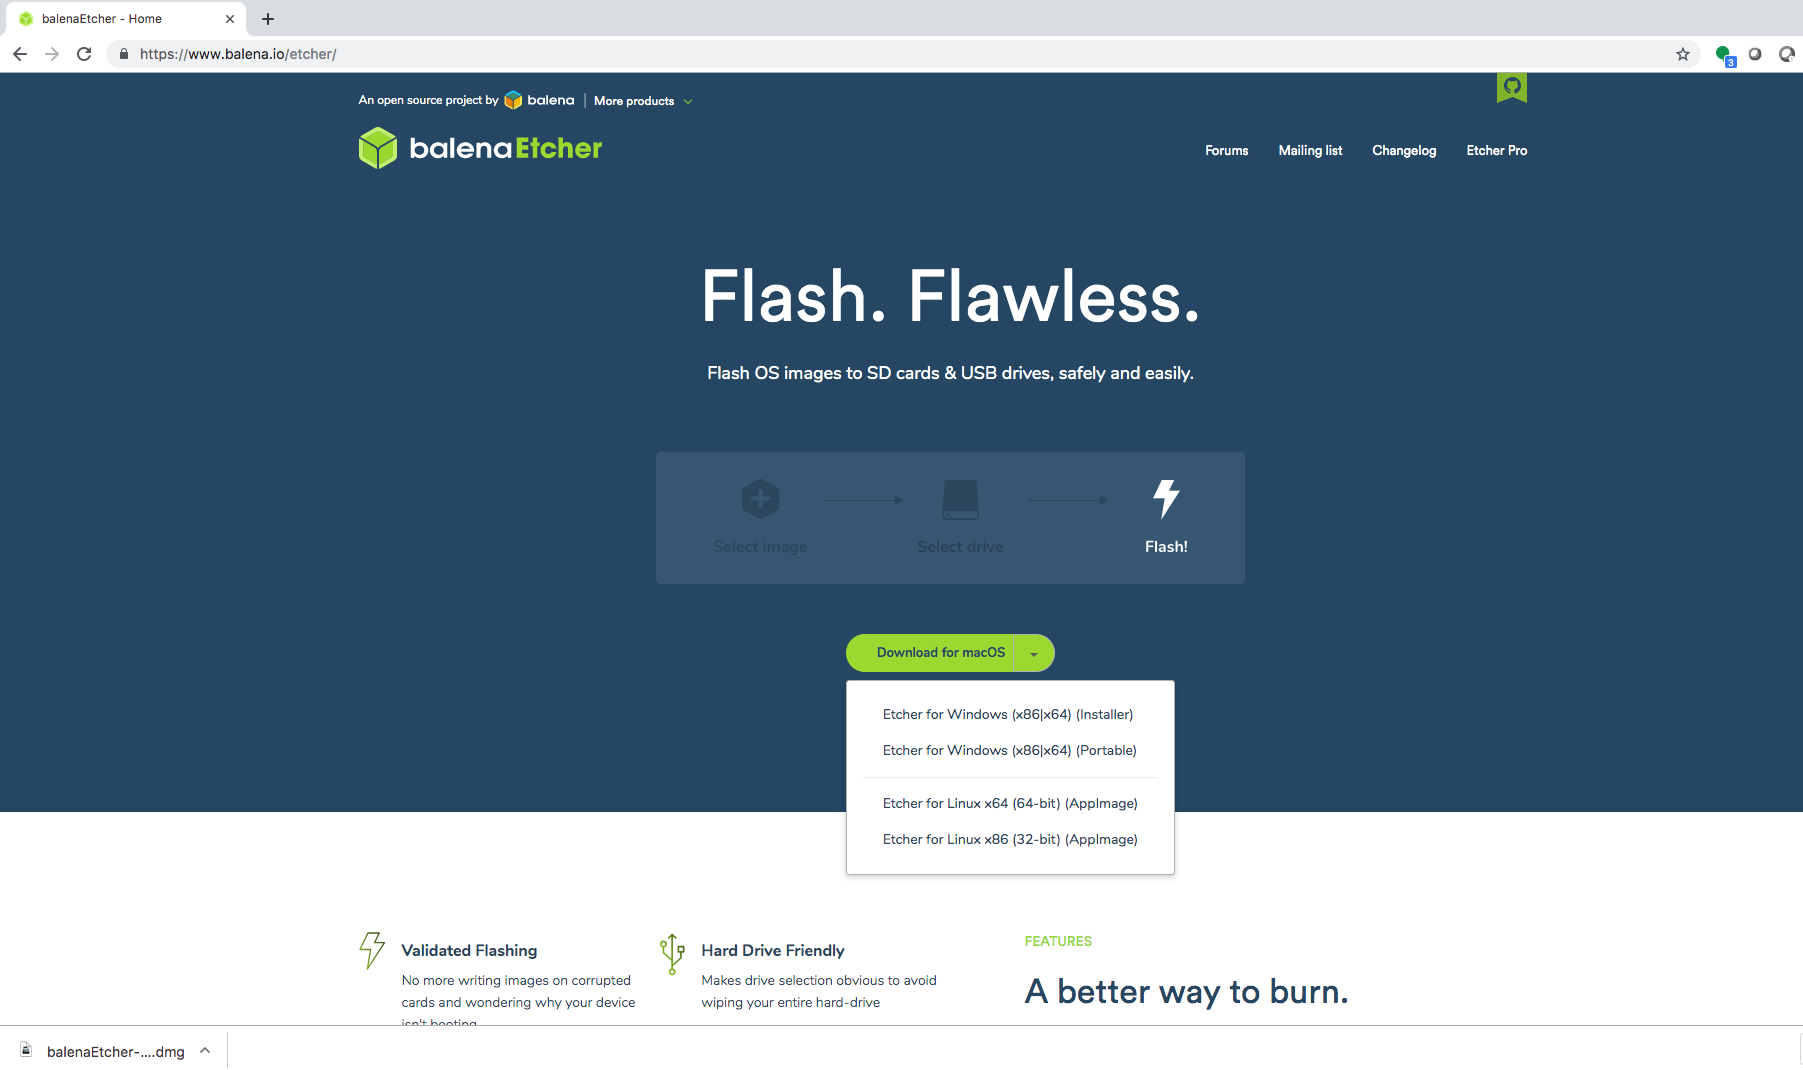
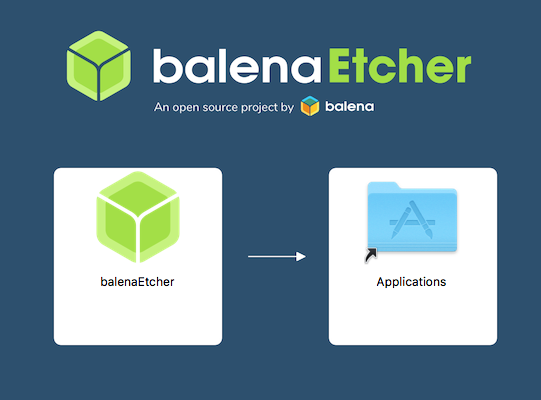
Download and install balenaEtcher.
Connect SD card to your computer#
Use your computer’s SD slot or a USB adapter to connect the SD card to your computer.
Write the image to your SD card#
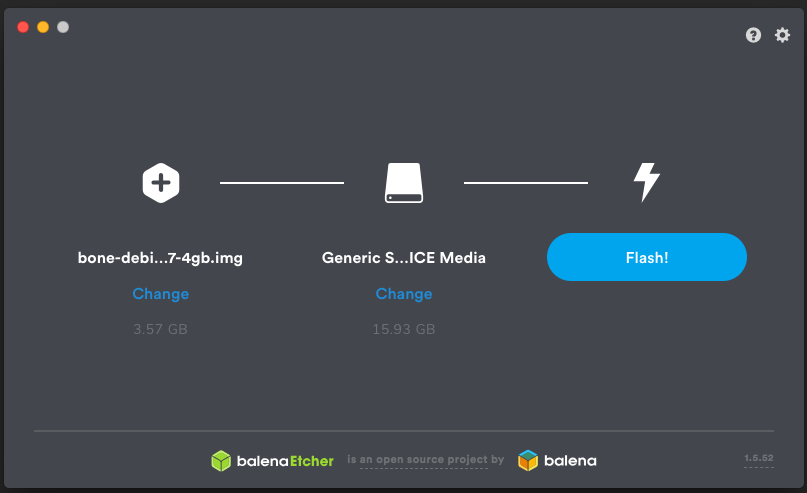
Use Etcher to write the image to your SD card. Etcher will transparently decompress the image on-the-fly before writing it to the SD card.
Eject the SD card#
Eject the newly programmed SD card.
Boot your board off of the SD card#
Insert SD card into your (powered-down) board, hold down the USER/BOOT button and apply power, either by the USB cable or 5V adapter.
If using an original BeagleBone or PocketBeagle, you are done.
Note
If using BeagleBone Black, BeagleBone Blue, BeagleBone AI, BeagleBone AI-64, BeaglePlay or other board with on-board eMMC flash and you desire to write the image to your on-board eMMC, you’ll need to follow the instructions at http://elinux.org/Beagleboard:BeagleBoneBlack_Debian#Flashing_eMMC. When the flashing is complete, all 4 USRx LEDs will be steady off and possibly power down the board upon completion. This can take up to 45 minutes. Power-down your board, remove the SD card and apply power again to finish.
Start your Beagle#
If any step fails, it is recommended to update to the latest software image using the instructions above.
Power and boot#
Most Beagles can be powered via a USB cable, providing a convenient way to provide both power to your Beagle and connectivity to your computer. Be sure the cable is of good quality and your source can provide enough power.
Alternatively, your Beagle may have a barrel jack which can take power from a wall adapter. Checkout Power supplies to get the correct adapter for your Beagle.
Danger
Make sure to use only a 5V center positive adapter for all Beagles except BeagleBone Blue and BeagleBoard-X15 (12V).
If you are using your Beagle with an SD (microSD) card, make sure it is inserted ahead of providing power. Most Beagles include programmed on-board flash and therefore do not require an SD card to be inserted.
You’ll see the power (PWR or ON) LED lit steadily. Within a minute or so, you should see the other LEDs blinking in their default configurations. Consult your Boards documentation to locate these LEDs.
USR0 is typically configured at boot to blink in a heartbeat pattern.
USR1 is typically configured at boot to light during SD (microSD) card accesses.
USR2 is typically configured at boot to light during CPU activity.
USR3 is typically configured at boot to light during eMMC accesses.
USR4/WIFI is typically configured at boot to light with WiFi (client) network association (Only on boards with built-in WiFi or M.2).
Enable a network connection#
If connected via USB, a network adapter should show up on your computer. Your Beagle should be running a DHCP server that will provide your computer with an IP address of either 192.168.7.1 or 192.168.6.1, depending on the type of USB network adapter supported by your computer’s operating system. Your Beagle will reserve 192.168.7.2 or 192.168.6.2 for itself.
If your Beagle includes WiFi, an access point called “BeagleBone-XXXX” will be created where “XXXX” varies between boards. The access point password defaults to “BeagleBone”. Your Beagle should be running a DHCP server that will provide your compute with an IP address in the 192.168.8.x range and reserve 192.168.8.1 for itself.
If your Beagle is connected to your local area network (LAN) via either Ethernet or WiFi,
it will utilize mDNS to broadcast itself
to your computer. If your computer supports mDNS, you should see your Beagle as beaglebone.local.
Non-BeagleBone boards will utilize alternate names. Multiple BeagleBone boards on the same
network will add a suffix such as beaglebone-2.local.
Browse to your Beagle#
A web server with an Visual Studio Code (IDE) should be running on your Beagle. Point your browser to http://192.168.7.2:3000 to begin development.
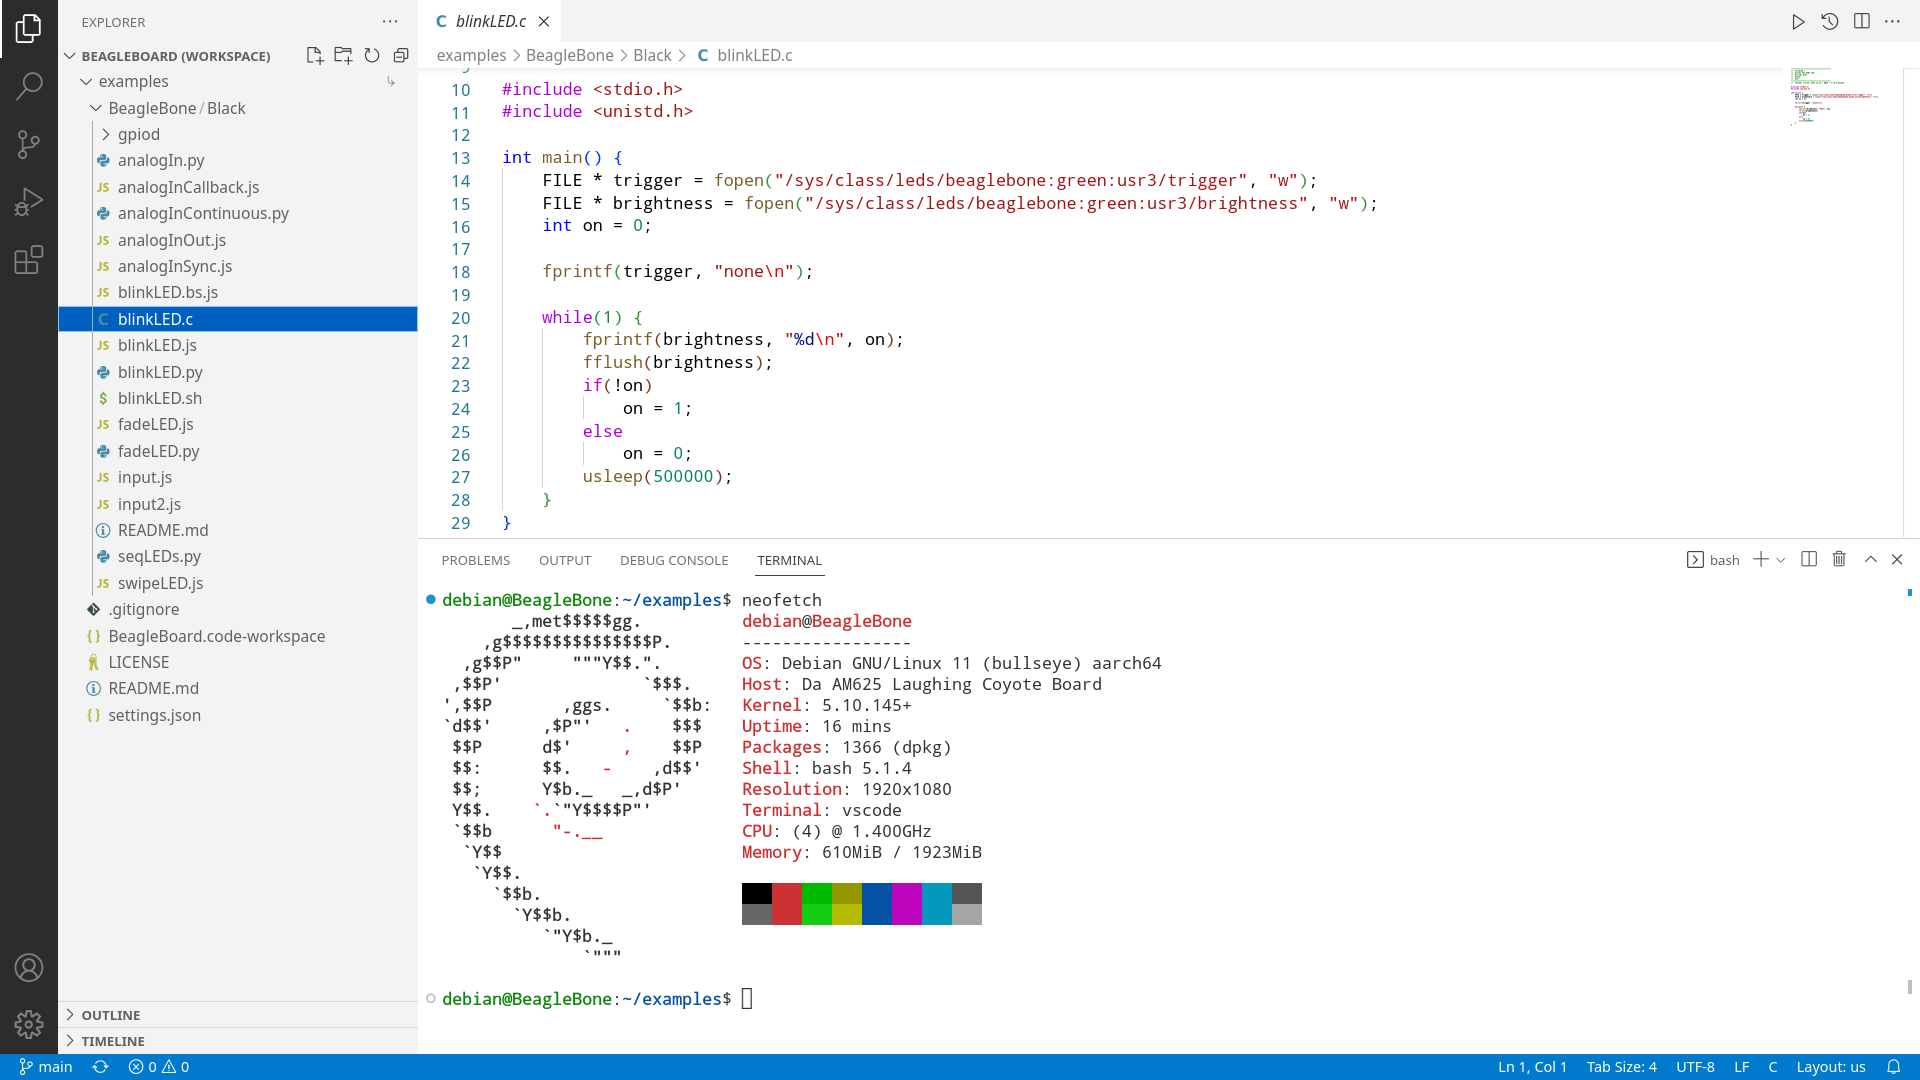
Fig. 10 Visual Studio Code Server#
Note
Use either Firefox or Chrome (Internet Explorer will NOT work), browse to the web server running on your board. It will load a presentation showing you the capabilities of the board. Use the arrow keys on your keyboard to navigate the presentation.
The below table summarizes the typical addresses.
Link |
Connection type |
Operating System(s) |
|---|---|---|
USB |
Windows |
|
USB |
Mac OS X, Linux |
|
WiFi |
all |
|
all |
mDNS enabled |
|
all |
mDNS enabled |
Troubleshooting#
Tip
Do not use Internet Explorer.
Virtual machines are not recommended when using the direct USB connection. It is recommended you use only network connections to your board if you are using a virtual machine.
Note
When using ‘ssh’ with the provided image, the username is ‘debian’ and the password is ‘temppwd’.
With the latest images, it should no longer be necessary to install drivers for your operating system to give you network-over-USB access to your Beagle. In case you are running an older image, an older operating system or need additional drivers for serial access to older boards, links to the old drivers are below.
Operating system |
USB Driver |
Comments |
|---|---|---|
Windows (64-bit) |
If in doubt, try the 64-bit installer first. |
|
Windows (32-bit) |
||
Mac OS X |
Install both sets of drivers. |
|
Linux |
Driver installation isn’t required, but you might find a few udev rules helpful. |
Note
For Windows (64-bit):
Windows Driver Certification warning may pop up two or three times. Click “Ignore”, “Install” or “Run”.
To check if you’re running 32 or 64-bit Windows see this.
On systems without the latest service release, you may get an error (0xc000007b). In that case, please perform the following and retry: https://answers.microsoft.com/en-us/windows/forum/all/windows-10-error-code-0xc000007b/02b74e7d-ce19-4ba4-90f0-e16e8d911866
You may need to reboot Windows.
These drivers have been tested to work up to Windows 10
Additional FTDI USB to serial/JTAG information and drivers are available from https://www.ftdichip.com/Drivers/VCP.htm
Additional USB to virtual Ethernet information and drivers are available from http://www.linux-usb.org/gadget/ and https://joshuawise.com/horndis
Visit https://docs.beagleboard.org/latest/intro/support/index.html for additional debugging tips.
Hardware documentation#
Be sure to check check the latest hardware documentation for your board at https://docs.beagleboard.org. Detailed design materials for various boards can be found at https://git.beagleboard.org/explore/projects/topics/boards.
Books#
For a complete list of books on BeagleBone, see beagleboard.org/books.
Perfect for high-school seniors or freshman univerisity level text, consider using “Bad to the Bone”
A lighter treatment suitable for a bit broader audience without the backgrounders on programming and electronics, consider “BeagleBone Cookbook”
To take things to the next level of detail, consider “Exploring BeagleBone” which can be considered the missing software manual.
utilize “Embedded Linux Primer” as a companion textbook to provide a strong base on embedded Linux suitable for working with any hardware that will run Linux.
